Waterfall Pleat
From: Victoria: The New Napkin Folding © 2006 Hearst Books
By Joanne O'Sullivan and Terry Taylor
photo credit: Keith WrightBe sure to use a crisp, starched napkin for best results. 
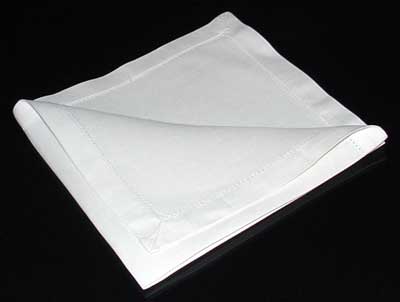
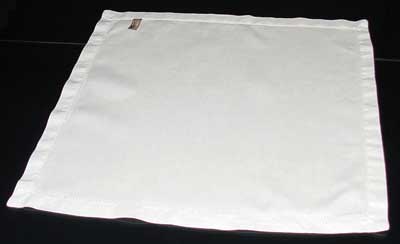
Step One
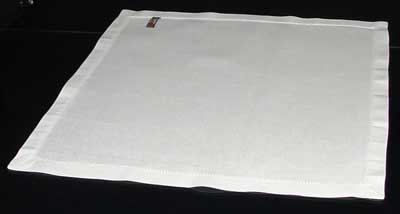
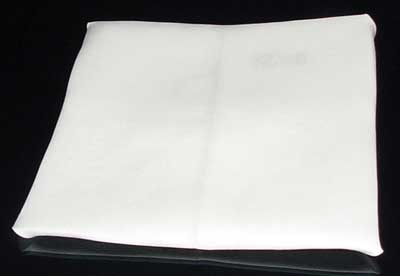
Start with a napkin laid flat.
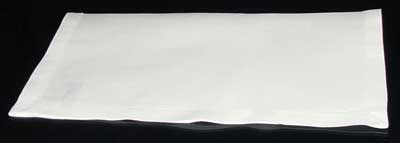
Bring the bottom long edge of the napkin up to the top edge to fold the napkin in half lengthwise.Fold the left side over to the right.
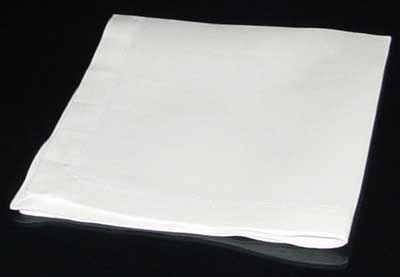
Position the napkin in a diamond shape with the open points at the top.
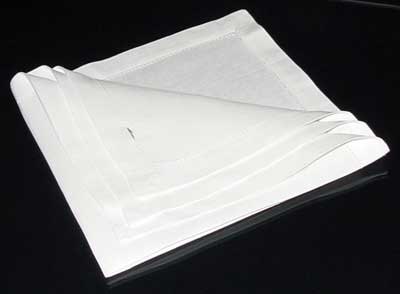
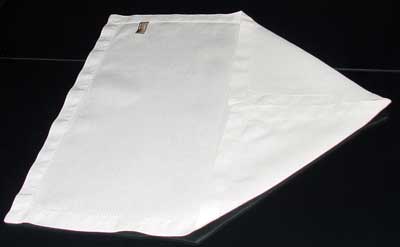
Step Two
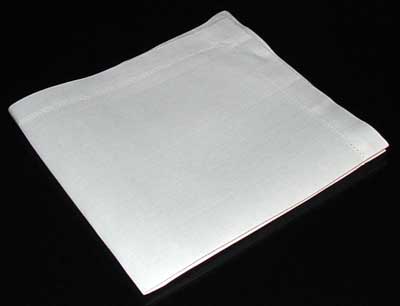
Bring the first layer down to the bottom point.
Crease the fold.
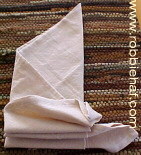
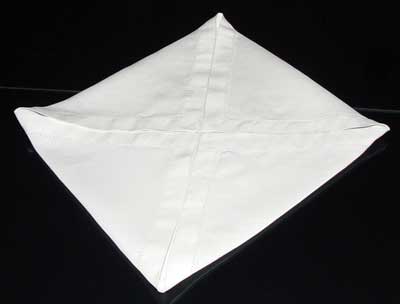
Step Three
Accordion-pleat the layer you just folded down to the crease line.
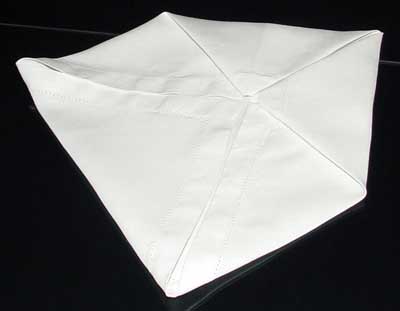
Step Four
Fold the napkin in half to form a triangle.
Turn the napkin so the folded line is at the bottom.


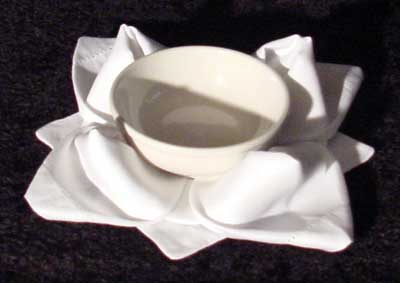
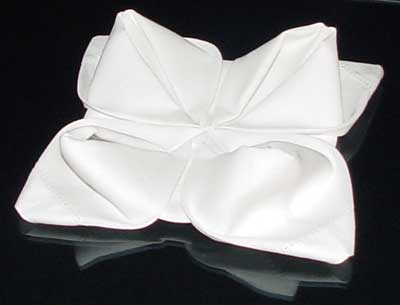
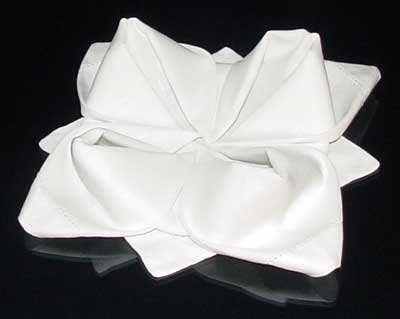
Step Five
Tuck the side points into each other in the back.
Stand the finished napkin on a plate, and fan the pleats outward.

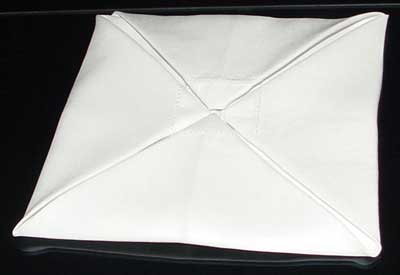
 1. Lay the napkin face-down in front of you.